This Thin Crust Pizza Dough is super quick – we’re talking 5 minutes. It’s a no-rise dough, so you don’t have to wait around for the dough to do its thing – which is perfect for a fast and easy weeknight dinner. You don’t need any fancy equipment – just a bowl and a spoon.
You know those nights when you’re tired, you’re hungry, you really just want to stop for pizza on the way home but you’re trying to save money/eat better/ whatever the case may be?
This thin crust pizza dough is the answer to your problems.
Go home, get a few ingredients and dump them in a bowl. Stir them up. Then press them onto a greased pizza pan. Add a few toppings (sometimes less is more!) and voila! Dinner is served. After you bake it, of course. 🙂
Related —- > How to Make Homemade Freezer Pizzas
We have a great pizza dough recipe on this blog already – Simple Pizza Dough – Two ways: Easy and Easier! – and it is very easy to make. BUT. It’s a thick fluffy pizza dough (my fave) and in order to achieve that fluffy dough, you have to let it rise.
Some nights that just ain’t happenin’.
So for nights like those, how do you make a simple pizza dough? A 5-minute pizza dough?
You make it like this:
Thin Crust Pizza Dough (No Rise!) – Step-by-Step Instructions
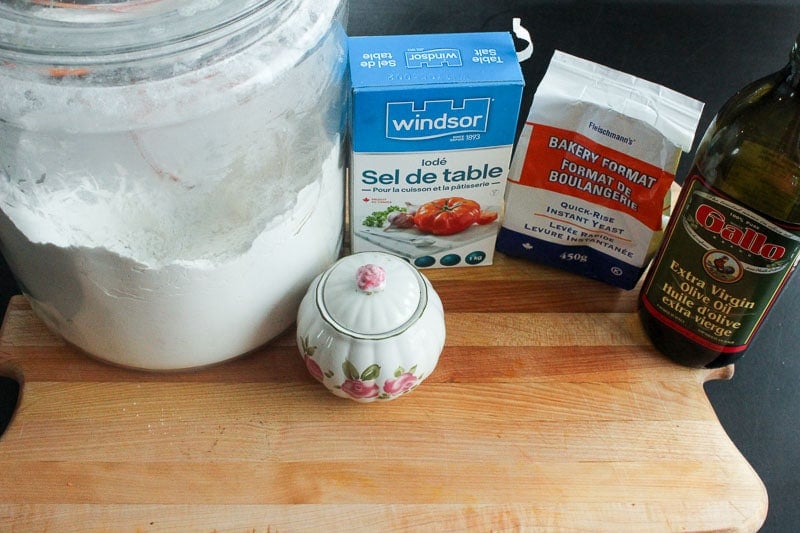
Ingredients for Thin Crust Pizza Dough (No Rise!). Pretty simple, right?
Preheat oven to 425 degrees F.
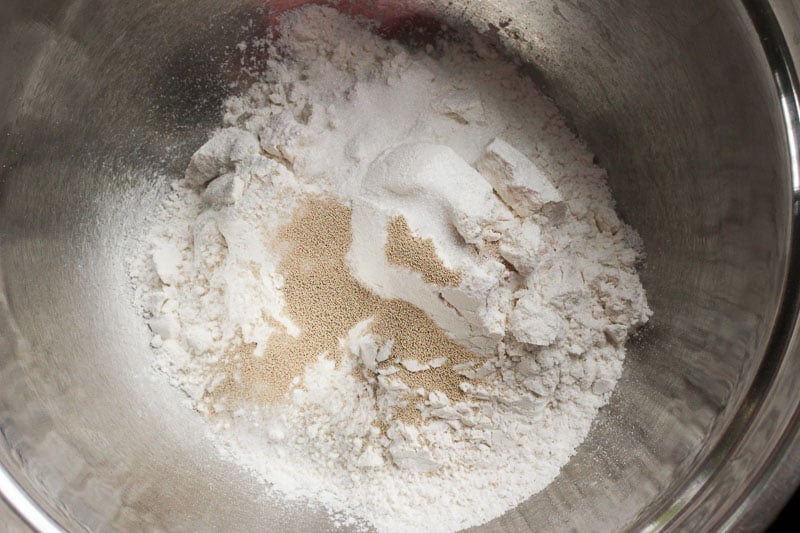
In a big bowl, stir together 2 cups of flour, 3/4 teaspoon of salt, 1/2 teaspoon of sugar and 1/2 teaspoon of INSTANT yeast.
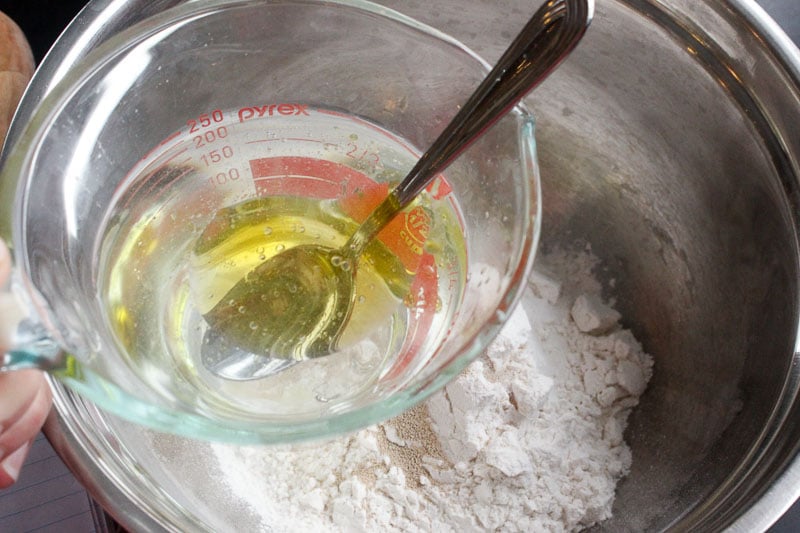
Put 1 teaspoon of olive oil in a measuring cup (you can use a different oil if you don’t have olive oil). Fill the cup with WARM water to the 1 cup line. Stir oil and water together. Add liquids to flour mixture and stir to combine.
Depending on a lot of different factors (how you measure your flour, humidity where you live, etc), you might need a little more water. YOU WILL PROBABLY NEED AT LEAST A BIT MORE.
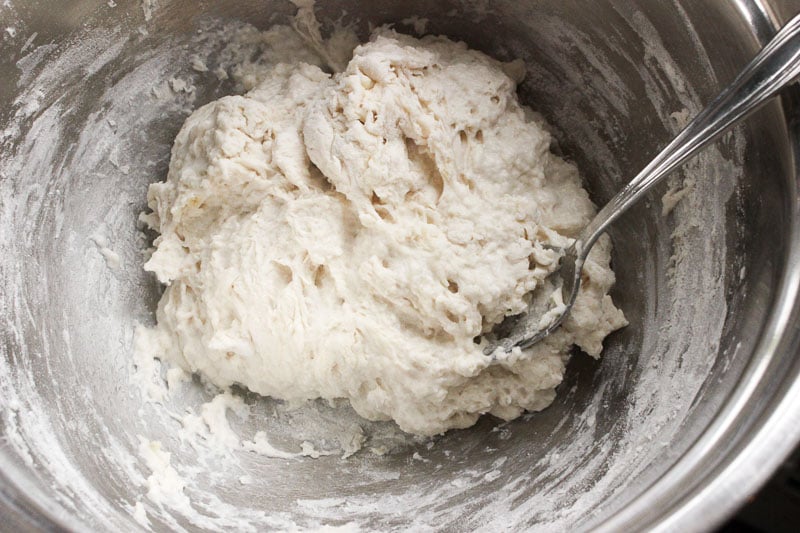
Add a spoonful at a time until the dough comes together into a shaggy, moist ball. If you add too much and it’s really sticky, you can add a little more flour to absorb the excess water.
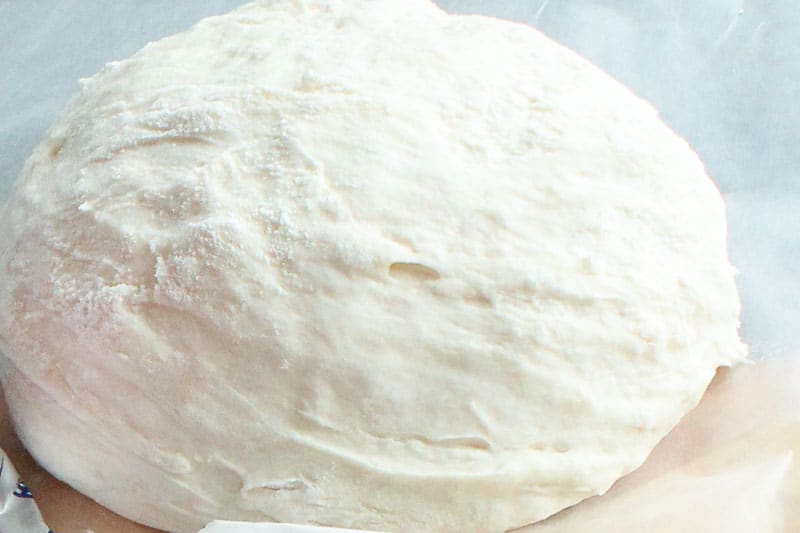
Sprinkle a little flour lightly over the surface of the dough and onto your hands, then rub your palms together to coat them. Pick up the ball of dough and gently round it out into a ball by stretching the top a bit and tucking the ends under the bottom. It’s ready to use!
Spread it on an oiled cookie sheet or divide it in two and spread over two pizza pans using your hands, pushing the dough from the centre of the pan outward until the pan is covered.
Cook pizza in a preheated 425 degree oven and keep an eye on it so it doesn’t burn. If we make two pizza pans (as opposed to a cookie sheet), we swap the pizzas half way through the cooking to make sure the bottom one doesn’t get too much heat and they cook evenly (make sure the bottom rack isn’t too close to the element).
Depending on what toppings you use (and how heavy they are) it takes anywhere from 14-18 minutes to cook.
Enjoy! 🙂
Thin Crust No Rise Pizza Q&A
Why can’t I make this pizza dough with regular yeast?
Regular yeast has to be proofed (when you activate it by mixing with warm water and letting it sit for a few minutes). Instant yeast doesn’t require any proofing – you can just mix it with your dry ingredients and as long as you add warm water it will activate. This saves time and extra steps.
Why did my dough turn out dry?
There are a few factors at play here.
One is the method you use to measure your flour. Technically, you are not supposed to scoop flour with a measuring cup – instead you should use second cup to lightly pile the flour into your measuring cup. But I don’t know many home cooks who do this. The result is that depending on how densely the flour is packed into your measuring cup, you could have quite a bit more or less than the amount called for in the recipe. This means you will need extra water to bring the dough to the desired consistency.
The other factor is the humidity level where you live. If you live in a really humid climate, your flour already contains more water than if you live in a very dry climate. This can impact how your dough turns out and whether you need more water to bring it to the proper consistency.
If you find this kind of thing interesting, you can read more about it here.
Can I pre-bake this dough ahead of time?
Yes, you can make this dough, form it into whatever size pizzas you want, and bake it until cooked but not browned. Then you can store or freeze it until you’re ready to use, thaw it and top with your ingredients, and then bake it just to heat everything through. It’s lots of fun for make-your-own pizza parties 🙂
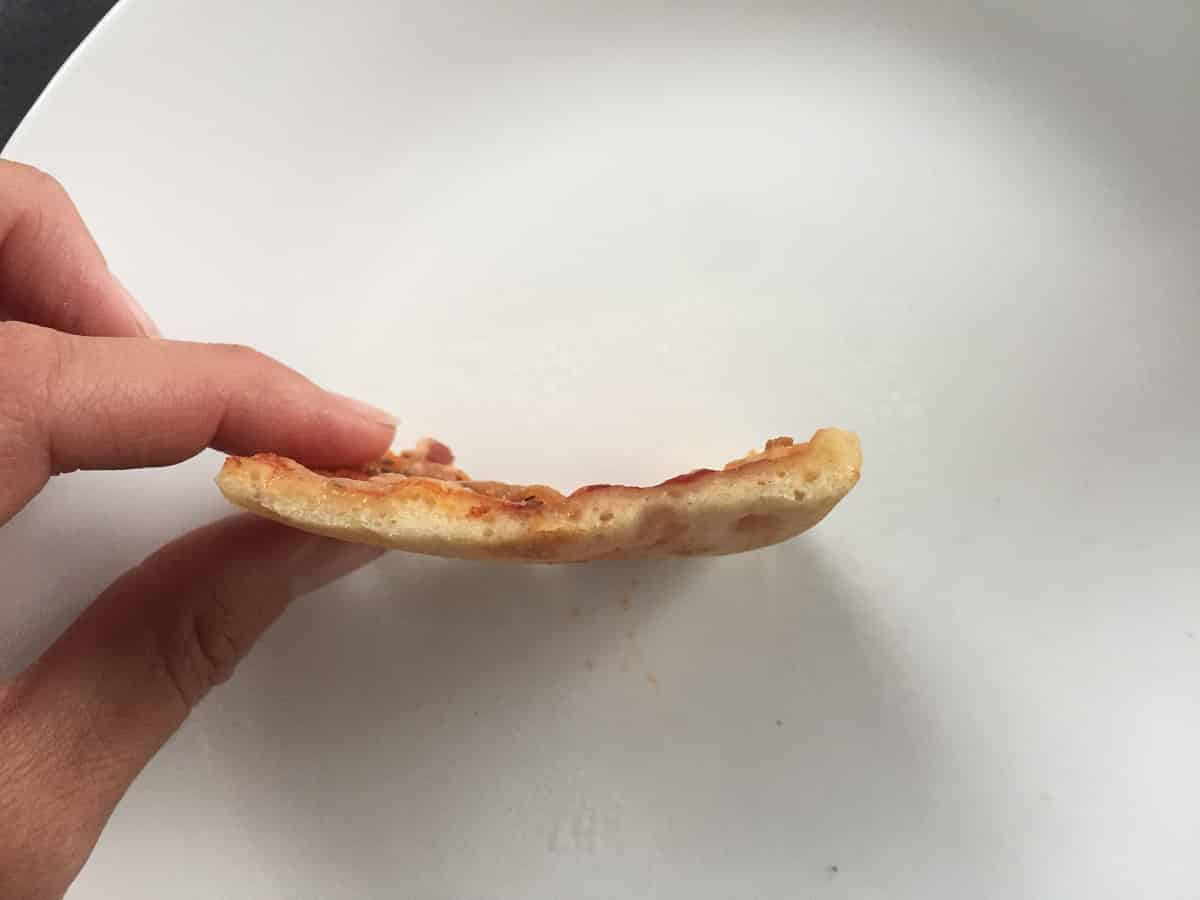
How thin should I be making this crust?
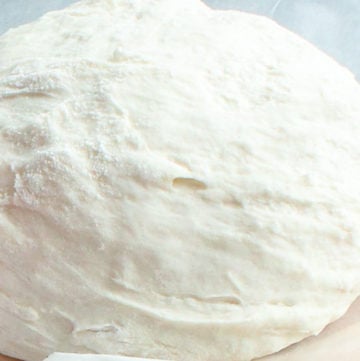
I make this crust quite thin. Here’s a recent pic I snapped:
Thin Crust Pizza Dough (No Rise!)
Ingredients
- 2 cups flour
- 3/4 tsp salt
- 1/2 tsp sugar
- 1/2 tsp INSTANT yeast (It HAS to be instant to do it this way!)
- 1 tsp olive oil (or whatever oil you have on hand)
- 1 cup WARM water
Instructions
- Preheat oven to 425 degrees F.
- Stir together flour, salt, sugar and instant yeast in a large bowl.
- Put olive oil in a measuring up, then fill the cup with WARM water to the 1 cup line. Give it a stir, then dump it into the dry ingredients.
- Stir to combine. You will PROBABLY need a little more water. Add a spoonful at a time until dough comes together into a moist, shaggy ball. (Not super wet and sticky though - if you add too much water, add a bit of flour to counteract it.)
- Sprinkle a bit of flour over the surface of the dough and your hands, then rub your palms together so they're coated. Pick up the dough and form it into a ball, by tucking the ends underneath.
- Spread it out on a large oiled cookie sheet, or divide it in two and spread it on two oiled pizza pans. I like to put the ball of dough in the centre of the pan and use my hands to spread it to the edges.
- Add whatever toppings you like, then bake in a preheated oven. If you use a cookie sheet make sure it's in the centre of the oven and it will probably take around 14 minutes (depending on how heavy your toppings are) - check it to make sure it doesn't burn. For two pizza pans it might take 16 or 18 minutes, but swap the pans half way so that each one has some time closer to the bottom of the oven. If you use higher heat it will take less time to cook.
- Enjoy! 🙂
Notes
Nutrition
If you love pizza, you might also like:


This post was originally published on February 16, 2018 and updated April 18, 2020.



Vanessa Dwyer says
I’m going to make this pizza dough tonight for our dinner
Myra says
Hi Vanessa! I hope it worked out!
Ryan says
Water to flour ratio is terrible. Had to add a full extra cup of flower. Every other recipe I’ve used called for 1/2 cup water to 2 cups flour. Should have stuck with that.
Myra says
Hi Ryan, I’m sorry to hear that you had trouble with the flour to water ratio. Its interesting, because I make this recipe all the time and I often need to add a little extra water, as I mention in the post. As I explain in the recipe, the ratio of flour to water will depend on many factors, including where you live, humidity, how you measure your flour, etc). In any case, thank you for your feedback. Hope you have a great day.
Carrie K says
Would this recipe work for fire wood stove pizza oven?
Myra says
Hi Carrie, yes, I think it would, but if you try it can you let us know?
Regina Sam says
Made this pizza dough today for a pizza for my grandson. He ate a entire slice by himself.
Iam on a detox, but as soom as it is over I will use my second ball od dough and make me one. My daughter had some and she said it was delicious.
Myra says
Hi Regina! Thank you so much for letting me know they enjoyed the recipe. I’m so happy to hear it! 🙂
Hannah Flack says
This looks beyond amazing! I tend to spend all of my money on food, specifically soup (I can eat it all day, every day, and any time of the year). I haven’t heard of some of your ingredients but would love to try this recipe for sure!
Michele says
I had to add at least another cup of flour, but other than that very easy and tasty
Myra says
Hi Michele! I’m glad it worked out in the end! I’m going to edit the instructions a bit to explain more about the effects of humidity on flour. Depending on the weather and time of year, the amount of water I have to add definitely varies. Sometimes flour is more dry, sometimes it’s more moist. Thanks for sticking with the recipe until the end! Like I said, I’ll make it more clear in the instructions to start with less water and add more as needed.
kat says
I don’t know if I did something wrong, but this was truly terrible. It did not cook – 45 minutes in the oven and its still stark white in colour and chewy. I don’t mean to be rude, but it was truly awful.
Myra says
Hi Kat! I’m so sorry to hear that you had a hard time with this recipe! I honestly can’t imagine any reason why it would still be stark white in colour after 45 minutes in the oven, especially at 450 degrees Farenheit! In fact, after that long it should have been burned to a crisp. (We usually cook for 15-20 minutes.) I’d like to try to help you trouble shoot what could have gone wrong. What temperature were you cooking it at?
Tracy says
Looks great…excited to try it…thank you for the help 🙂
Sophie says
Is this a stiff crispy dlice if pizza?
Myra says
Hi Sophie! I don’t really find it crispy (although you might want to cook it a couple of extra minutes to make it crispy). It’s more like thin and a bit chewy crust. Hope this helps!
Brenda says
I made this recipe and made 5-6 small pizzas. I cooked the dough in the oven for about 5-7 minutes and when cooled I froze them individually.
I took them out as needed and added sauce, cheese and toppings and popped them back in the oven for 10 minutes or so and it was like having fresh pizza.
Myra says
What a great idea! Thanks for sharing! 🙂