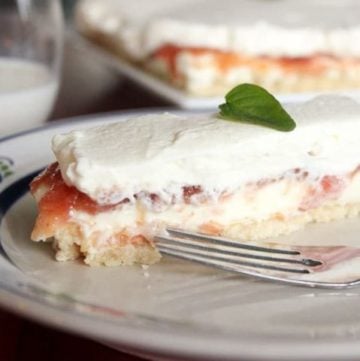
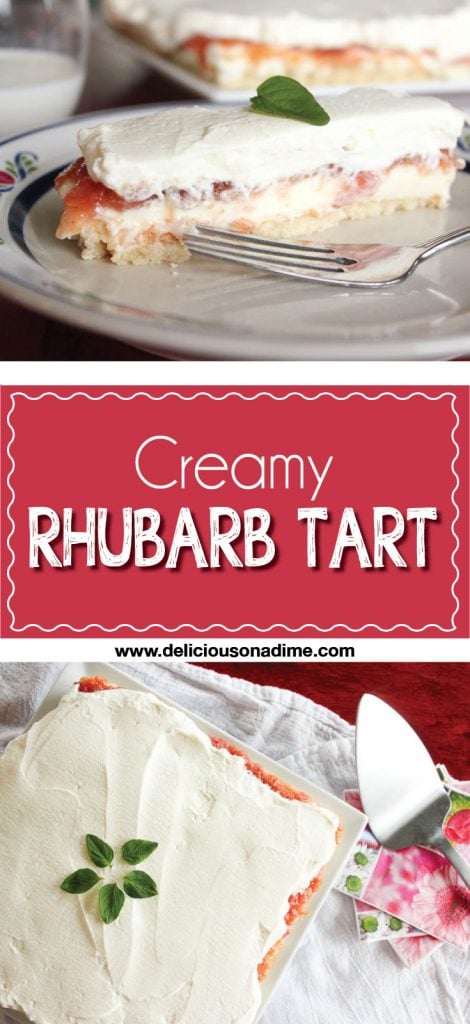
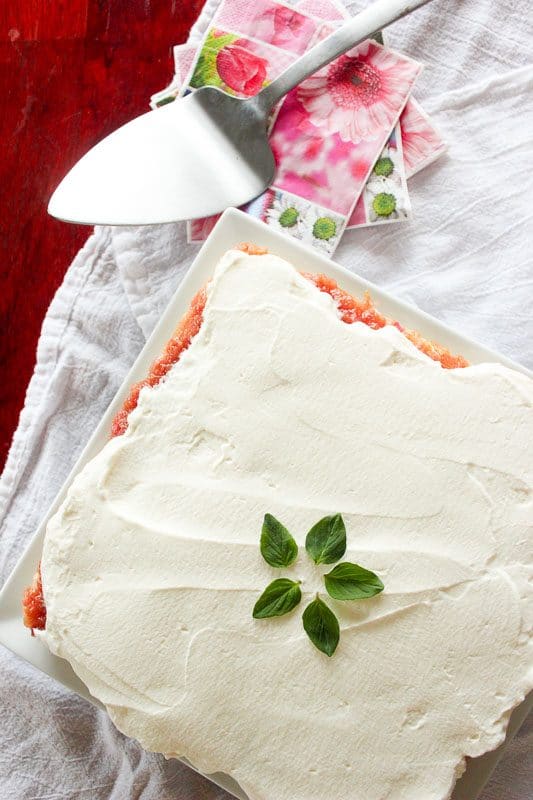
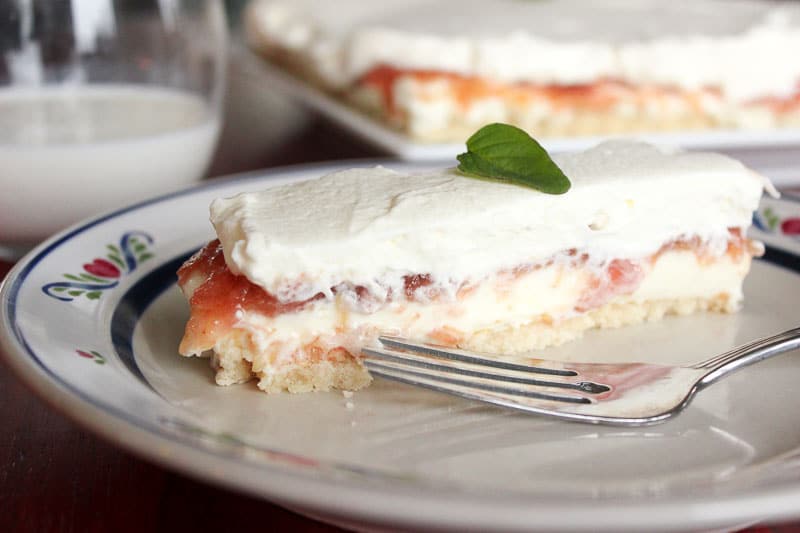
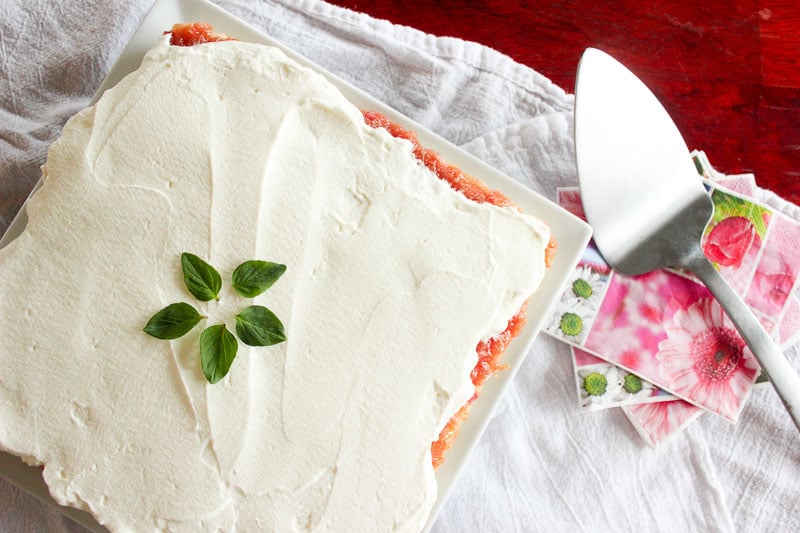
This Creamy Rhubarb Tart is the perfect way to celebrate Mother’s Day or just spring’s first harvest! A buttery shortbread base, rich cream cheese layer, tart rhubarb filling and airy whipped cream topping will have you dreaming of this tart until rhubarb season next year!
One of the first culinary signs of spring is rhubarb.
It comes bursting out of our garden before almost anything else. If you have any type of yard, consider planting some – it’s a perennial, meaning it comes back year after year without you having to do anything!
I love rhubarb’s bright, tart taste, but if you’re not sold on it, it makes a lovely pairing for strawberries, and their seasons tend to overlap.
We get a TON of rhubarb from the two plants we have, and every year we make jams, pies, muffins, crisps and tarts. The beauty of rhubarb is that it freezes like a dream, and you don’t even have to blanch it or prep it first. Just wash the stalks, chop them to whatever size works for you, put them in freezer bags and freeze.
I actually made this lovely, creamy rhubarb tart from frozen rhubarb, because it’s still too early for our garden, and why buy it when you have some frozen?
You cook the rhubarb down to a really soft consistency anyway, so whether it’s fresh or frozen, the result is the same. You can always add strawberries to the rhubarb, either for the brighter red color, the sweeter summer taste, or both. Or you can go with straight up rhubarb like I did, for a tart that tastes like pure spring.
Combine that rhubarb mixture with a creamy cream cheese filling, airy whipped cream and a buttery shortbread base and YUM. I could eat this for days. It’s the perfect way to celebrate Mother’s Day!
Creamy Rhubarb Tart – Step-by-Step Photo Instructions
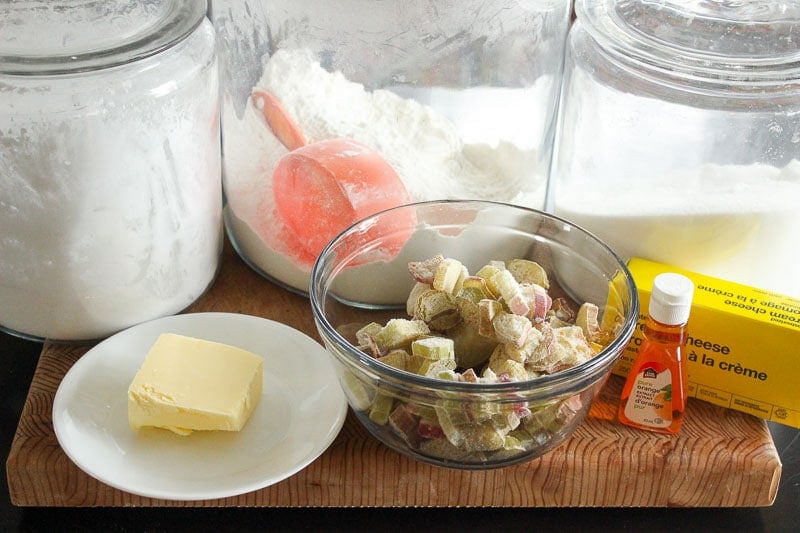
Creamy Rhubarb Tart – Ingredients
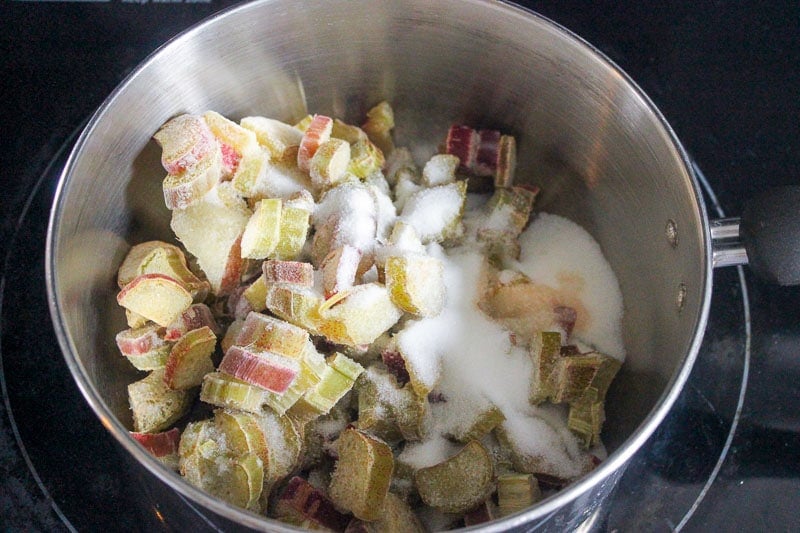
Start by cooking the rhubarb down.
I used 3 cups of chopped rhubarb and 1/2 cup of sugar. I also added 1/2 teaspoon of orange extract, because I love the flavor of orange with rhubarb.
Tip: When I make this again, I’ll wait to add the orange extract at the end of the cooking time though, so that the flavor doesn’t cook out as much.
I didn’t add any water to the pot because the rhubarb will release a bunch of liquid once it warms up and thaws, but if you’re using fresh rhubarb you could add a tablespoon or two.
Once you have a little liquid, turn the heat to medium and cover the pot with the lid to speed up the cooking down process. Make sure you stir it every few minutes though.
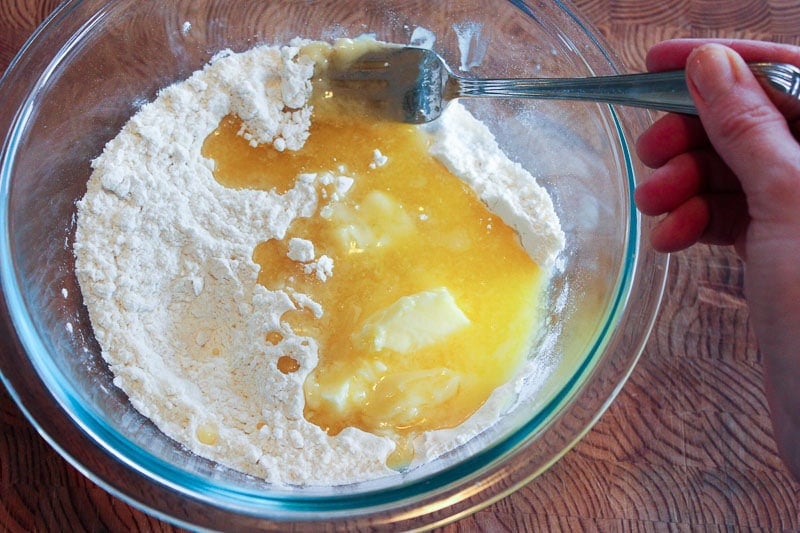
In the meantime, preheat your oven to 325 degrees F. Combine 1 cup of flour, 2 tablespoons of sugar and 1/2 cup of butter. My butter was in the fridge so I microwaved it on defrost for about 20 or 30 seconds.
You don’t have to stress about this – I find the resulting crust is pretty much the same, regardless of whether you use room temperature butter, cold butter or melted butter.
I’m sure there are pastry chefs out there who would cringe to hear me say that, but hey – this is real life, and soft or melted butter is easier. If your butter is cold, don’t let that stop you from making this tart!
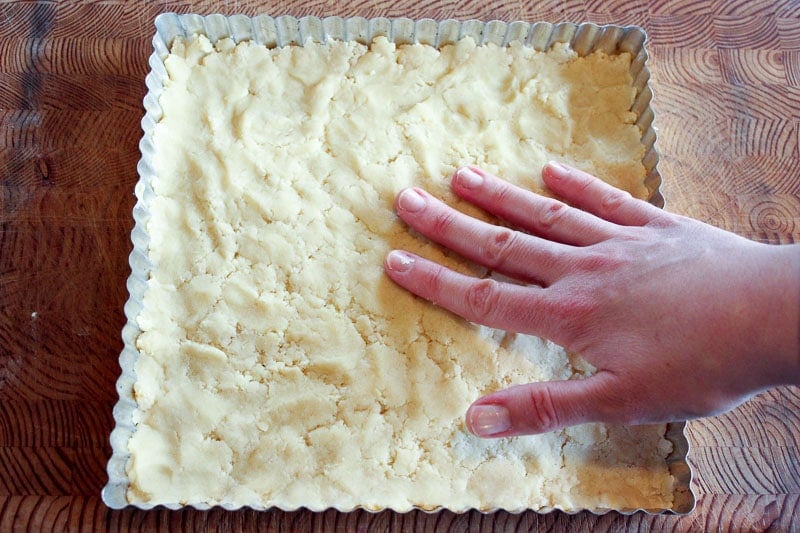
Press into the bottom of an 8X8 square glass pan or tart pan. I love tart pans for their pretty edges, but you can totally make this in a glass pyrex pan. Bake for 9 minutes, then cool completely.
Tip: A wire rack will cool the tart faster, since the air will circulate completely around it.
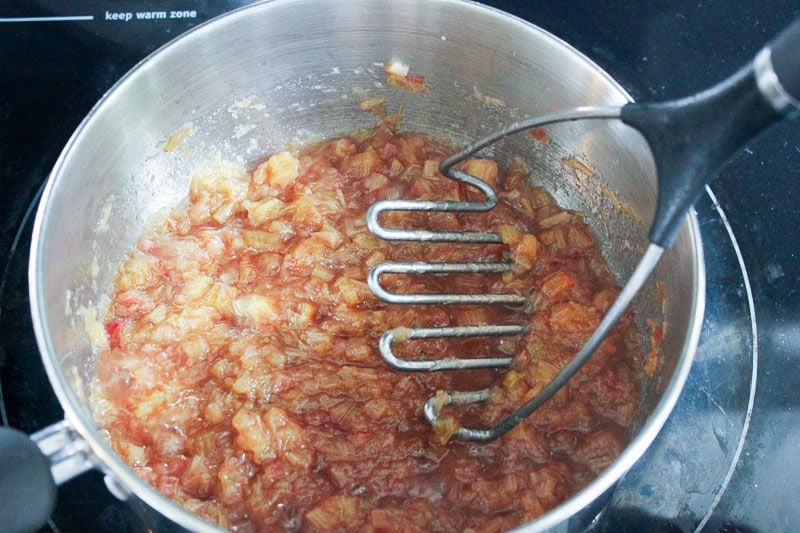
Back to the rhubarb. Whenever you notice that it’s super soft, mash it up with a potato masher, to a fairly smooth consistency. It should mash very easily. Cook without lid now until most of the liquid has evaporated. Add 1/2 teaspoon orange extract and remove from heat. Cool to room temperature (or even chill in the fridge). As it cools it will thicken.
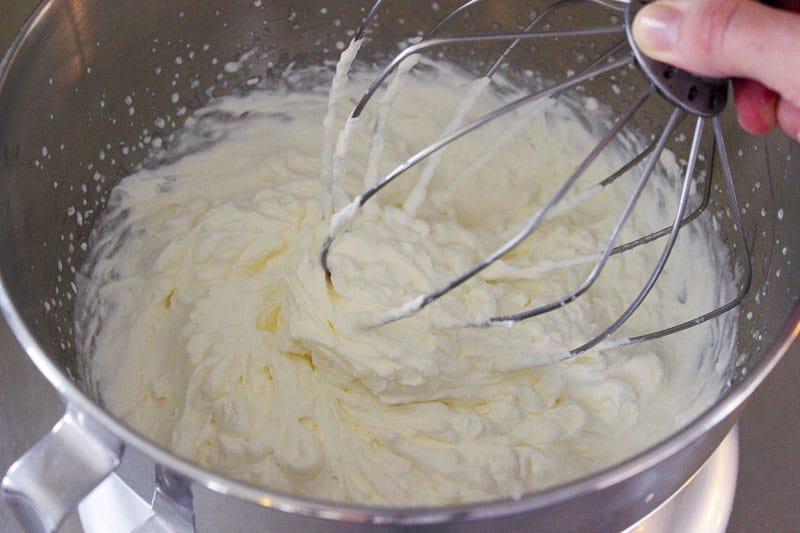
Using a hand mixer, stand mixer (or even just a whisk if you’re feeling energetic), whip 2 cups of whipping cream with 2 tablespoons of sugar until fairly stiff peaks form. Set aside.
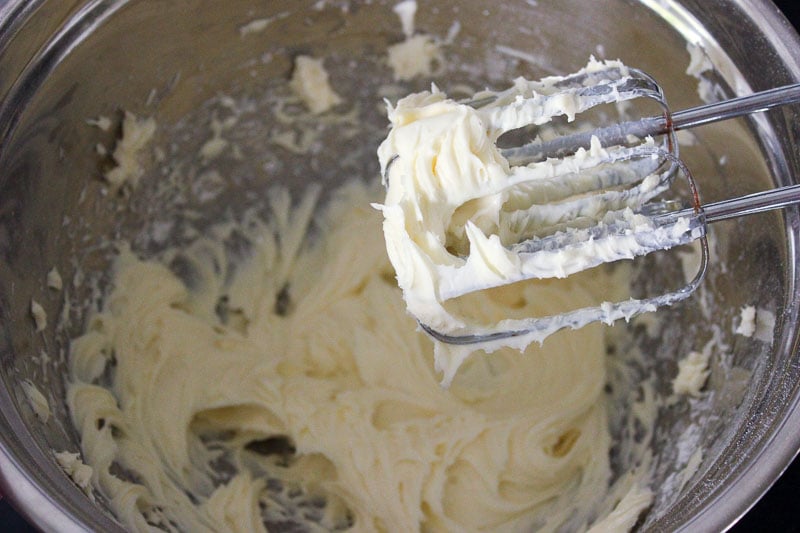
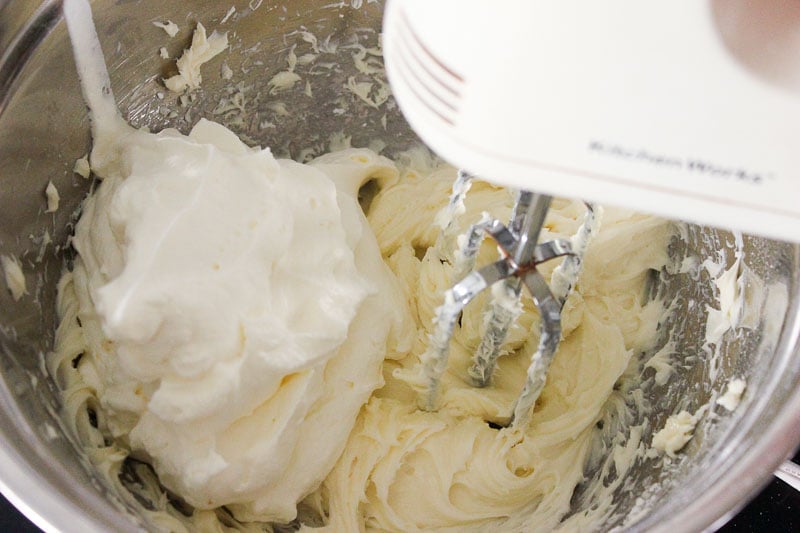
In a separate bowl, mix softened cream cheese (you don’t need to clean your mixer attachments) with 3/4 cup of icing (powdered) sugar until smooth and creamy.
Add half the whipped cream to the cream cheese and mix to combine. Reserve the rest of the whipped cream to top the tart later.
Tip: A lot of recipes would use Cool Whip instead of whipped cream, but I like to use real food whenever possible. I really don’t find it much work to whip the cream, and I find it tastes SO much better. In fact, I could eat it with a spoon. Still, if Cool Whip is what you have on hand or what you have time for, go for it.
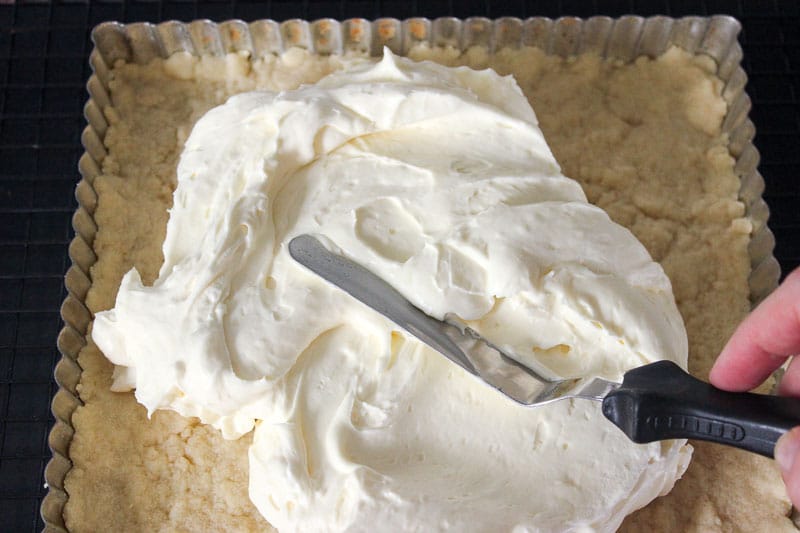
Spread that creamy deliciousness in a smooth layer over the cooled tart base.
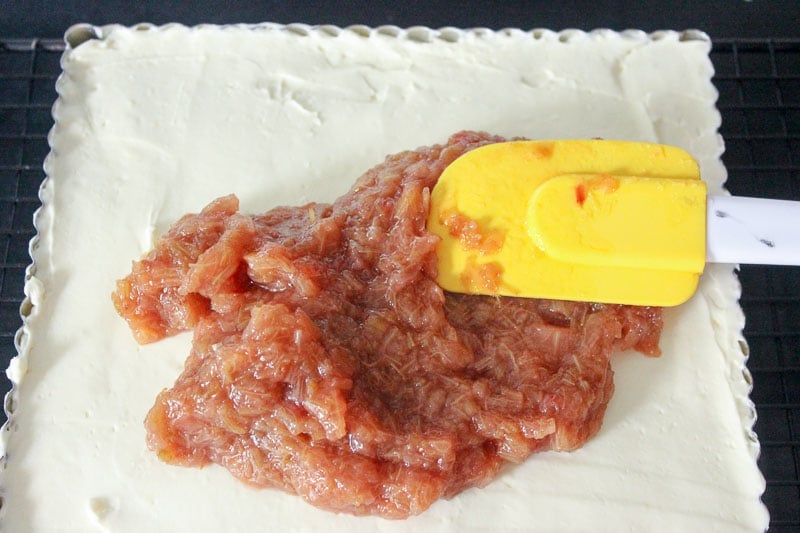
Spoon the chilled, set rhubarb onto the cream cheese and smooth out into a thin layer. At this point you can refrigerate the tart until you’re ready to eat it, which will help it firm up a bit too. This is a great make-ahead dessert!
Whenever you’re ready to eat it, spread reserved whipped cream over the tart (remove tart pan sides first if you’re using a tart pan). Enjoy! 🙂
What are you making for Mother’s Day this year? Do you love rhubarb? Let me know in the comments below!
Creamy Rhubarb Tart - a perfect Mother's Day dessert!
Ingredients
Rhubarb
- 3 cups rhubarb fresh or frozen
- 1/2 cup sugar
- 1/2 tsp orange extract
Base
- 1 cup flour
- 2 tbsp sugar
- 1/2 cup butter softened or slightly melted
Creamy Layer + Topping
- 1 pkg cream cheese
- 3/4 cup icing sugar (powdered sugar)
- 2 cups whipping cream
- 2 tbsp sugar
Instructions
Rhubarb
- Start cooking down the rhubarb with the sugar. I didn't add any water to the pot because the rhubarb will release a bunch of liquid once it warms up, but if you feel you have to you could add a tablespoon or two. Once you have a little liquid, turn the heat to medium and cover the pot with the lid to speed up the cooking down process. Stir every few minutes.
- Whenever you notice that the rhubarb is super soft, mash it up with a potato masher, so a fairly smooth consistency. It should mash very easily. Cook without lid until most of the liquid has evaporated. Add 1/2 teaspoon orange extract and remove from heat. Cool to room temperature (or even chill in the fridge). As it cools it will thicken.
Base
- In the meantime, preheat oven to 325 degrees F. Combine flour and sugar. Add butter and stir or blend well to combine.
- Press into the bottom of an 8X8 square glass pan or tart pan. Bake for 9 minutes, then cool completely. A wire rack will cool the tart faster, since the air will circulate completely around it.
Creamy Layer + Topping
- Using a hand mixer, stand mixer (or even just a whisk if you're feeling energetic), whip whipping cream with sugar until fairly stiff peaks form. Set aside.
- In a separate bowl, mix softened cream cheese (you don't need to clean your mixer attachments) with icing (powdered) sugar until smooth and creamy.
- Add half the whipped cream to the cream cheese and mix to combine. Reserve the rest of the whipped cream to top the tart with later.
- Spread the cream cheese layer smoothly over the cooled tart base.
- Spoon the chilled, set rhubarb onto the cream cheese and smooth out into a thin layer. At this point you can refrigerate the tart until you're ready to eat it, which will help it firm up a bit too. This is a great make-ahead dessert!
- Whenever you're ready to eat it, spread reserved whipped cream over the tart (remove tart pan sides first if you're using a tart pan) and enjoy! 🙂
Nutrition
You might also like:



Corinne Beine says
What size package of cream cheese do you use 3 or 8 ounce?
Myra says
Hi Corinne, sorry for the delay in responding! I always buy 8 oz. Hope that helps!
Jenn says
Best and most delicious ever. I add some strawberries to the rhubarb also. I get praise and ahhhs. I Lov Lov this recipe. Just wondering if u can freeze the whole tart assembled..
Myra says
Hi Jenn! I’m so happy to hear you loved this tart! To be honest I haven’t tried freezing it. I feel like the bottom would probably get soggy. I do think you could make the rhubarb (or rhubarb strawberry – yum!) ahead of time and freeze it if you wanted. If you try any of these things out please let us know how they go! 🙂